Low Turn Out Resulted in High Excitement!

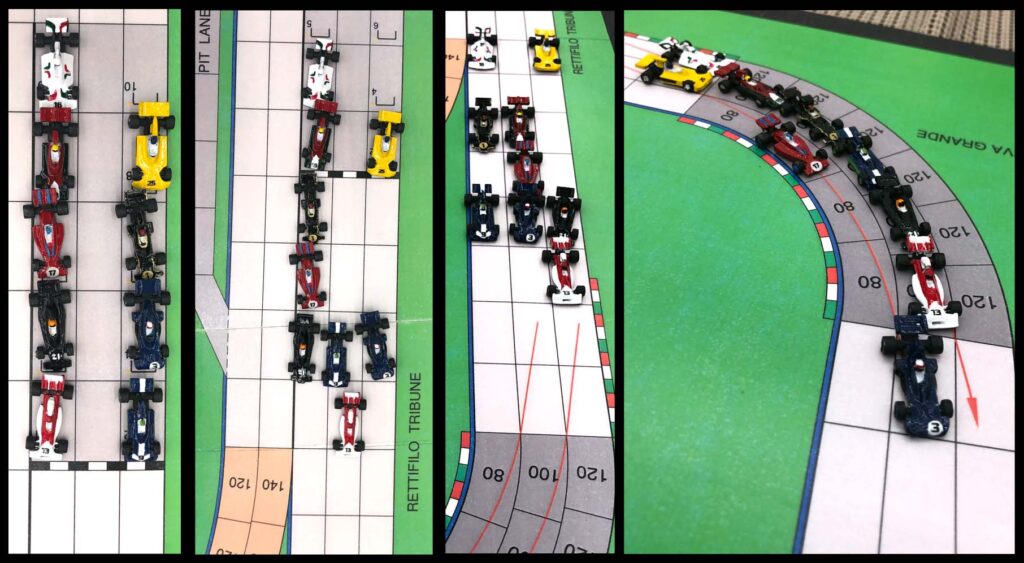
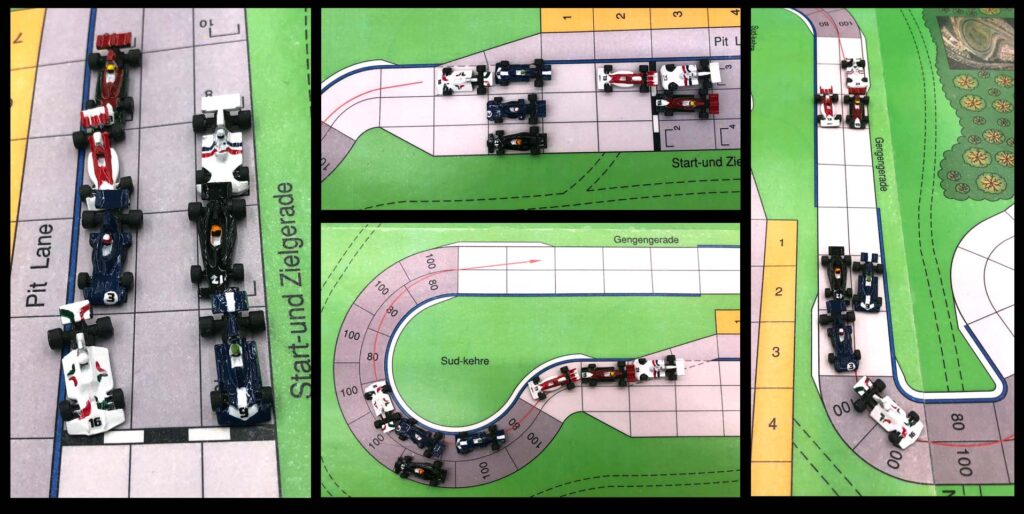
Only four teams turned out for April’s race at Jarama and each fielded two drivers. Mass sat on pole with Fittapaldi beside him. Pace, the series leader and Lauda occupied the second row followed by the two Hesketh drivers Hunt and Scheckter. Regazzoni and Hulme filled out the last row.

Lauda, in the #12 Ferrari, took on both Surtees drivers, Mass and Pace. The yellow and blue cars of Team Surtees held the lead. Reggezoni in the #11 Ferrari quickly advanced through the pack. Hesketh and McClaren driver began a bitter struggle that lasted most of the race.

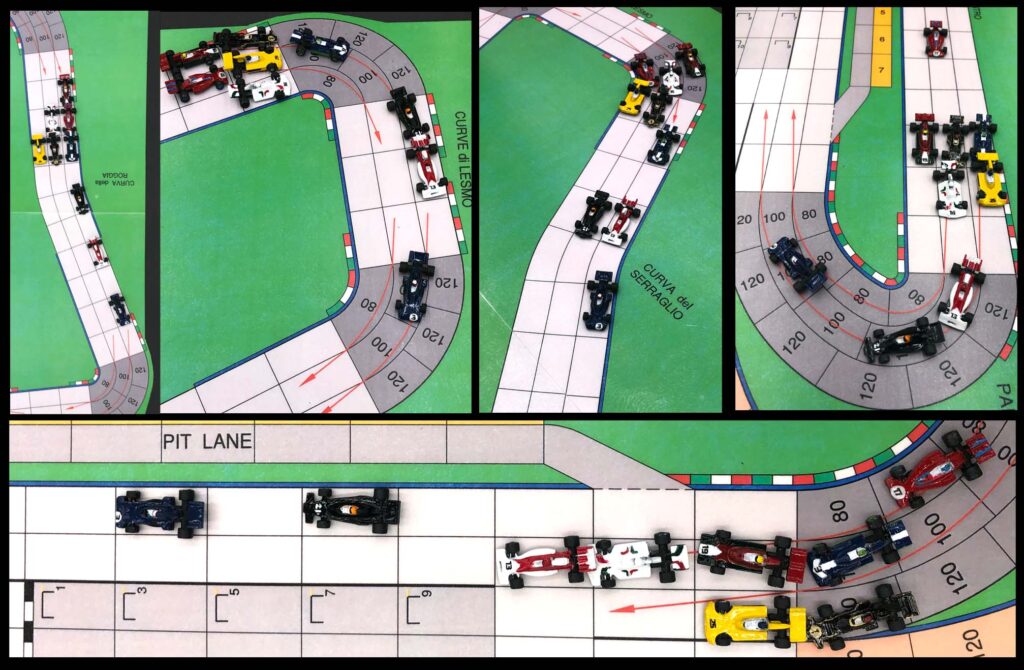
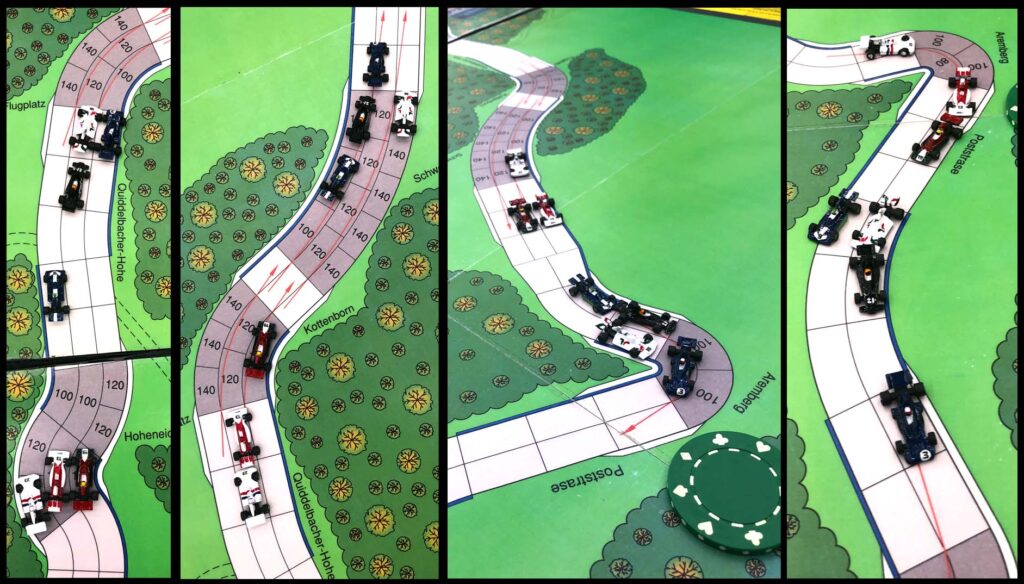
Lauda gained the lead through the Ascari only to loose it to a Fittapaldi who surge ahead for a time. Mass began to experience brake trouble and fell back.

Lauda regained the lead and completed the lap just ahead of Pace. Pace’s machine had superior acceleration and top-speed that he used to great effect down the long straight. Although far behind, Hunt prepared for a charge in the second lap. The Team McLaren manager singled to his drivers to conserve wear and save their tires for the final lap.

The second lap was characterized by the Ferrari drivers chasing Pace. Pace used tactics to keep Lauda off the optimal racing line preventing him from passing. Meanwhile, the aggressive Hunt was surprised and frustrated by Team McLaren’s conservative driving strategy.

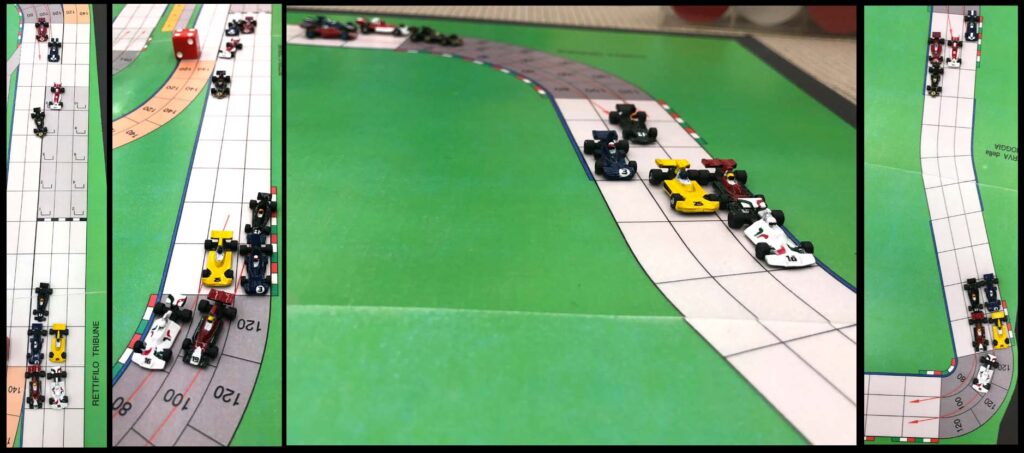
This time Pace was first to complete the lap with Lauda on his heels. Regazzoni looked secure in 3rd. The previously stymied Hunt finally broke through the McLaren wall!

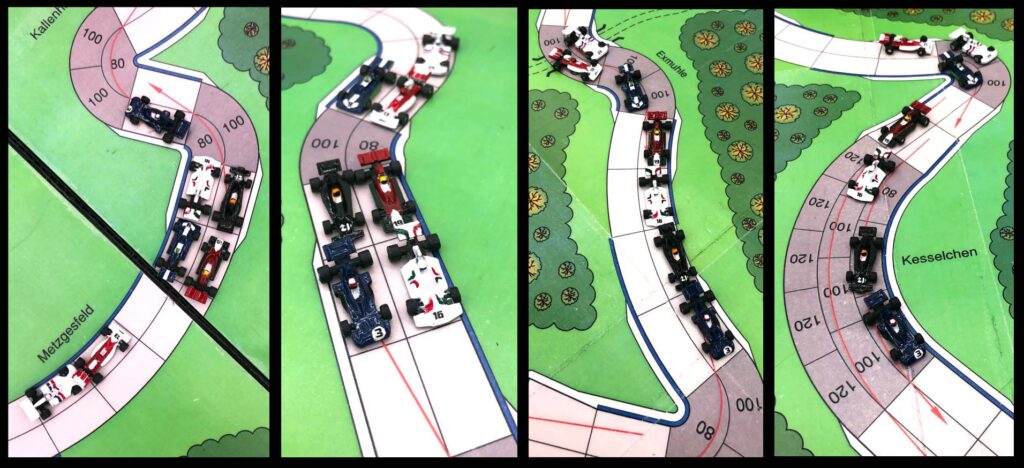
The Hesketh was also faster than the Ferraris down the straight and Hunt began to make up time. The Surtees and Ferrari cars were also showing signs of wear depletion and slowing down. Although still pressured by Lauda, Pace held the lead.

Pace and Lauda raced side-by-side pushing their machines to the limit. Hunt gained on Regazzoni. The McLarens made little to no progress.

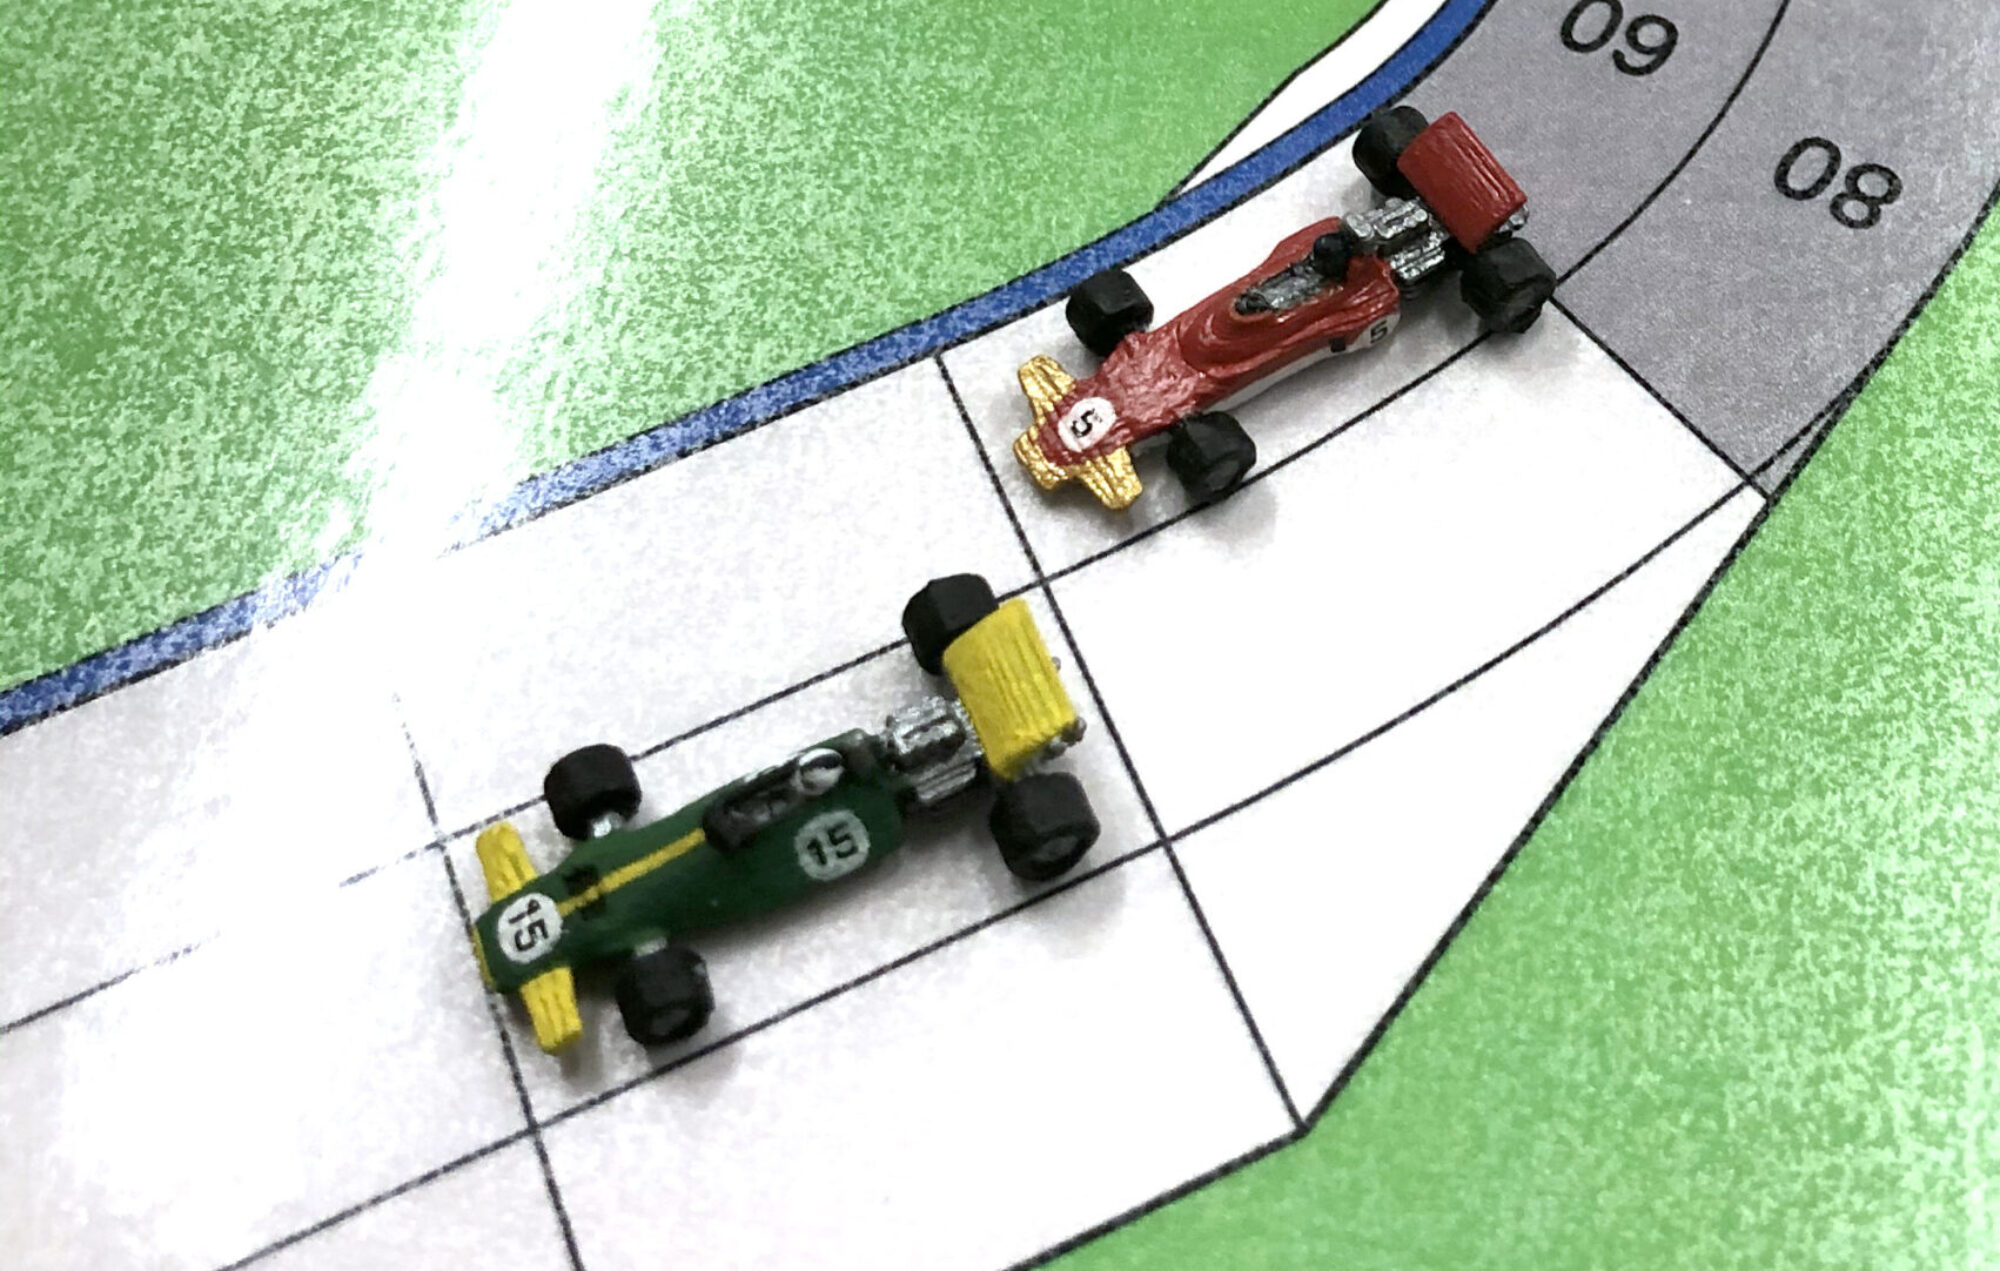
Then Lauda lost control and spun in the Tunel, that last corner of the race! Pace pulled away for the win. Regazzoni and then Hunt passed the Lauda. Regazzoni took 2nd place just ahead of Hunt.
Race results follow:
1st Tom V. (C. Pace) 60/60/20/160/5 S*
2nd Den H. (C. Regazzoni) 60/40/40/140/5 N
3rd Steve K. (J. Hunt) 60/40/40/160/5 S
4th Den H. (N. Lauda) 60/40/40/140/6 N*
5th AJ H. (E. Fittipaldi) 60/40/20/160/6 S
6th AJ H. (D. Hulme) 60/40/20/160/6 S
7th Steve K. (I. Scheckter) 60/40/40/160/5 S
DNF (Brakes) Tom V. (J. Mass) 80/40/20/140/5 S
The next race is at Monaco and is scheduled for 29 May 2024.
See you at the race!